Use of the Colors-window
Tutorial for use with Quilt Assistant, written by Regina Grewe, also available in German on her website.
We will start where we left off at the end of the tutorial on color design, so we have our design in Coloring Mode; the number of colors is reduced to 50.
When you right-click on a hexagon in the design, you will "pick up" the color on your brush, after which you can simply left-click on other patches to transfer the color. This way you can change the distribution of colors to match your own preferences. With ctrl-click all fields of the same color with be re-colored; this is an easy way to get rid of colors you do not want in your design.
Dragging with the left mouse button pressed will cause all patches you move over to get a new color. This is useful to draw stripes or fill areas with a single color.
Beware: Quilt Assistant removes colors that are no longer in the design from the list of used colors.
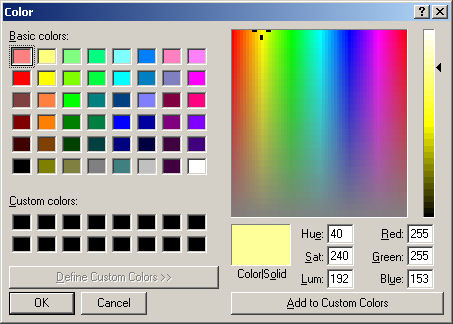
"Base Colors" or "Used Colors", and you will see the chosen color to the left of the "More Colors..." button. Click on "More Colors..." to open a window where you can change the color by using the slide at the far right side of the window, or by dragging the cross on the rainbow-like color field. With "Add to custom colors" you will add the selected color to the list of custom colors. With "OK" you will close the window and have the selected color ready for use.
Beware: QA can only copy one color at a time! If you want to select a range of shades, you will have to repeat this procedure for every color.
This is what a re-colored design might look like:

Changing colors in a free design works in the same way.
Hope you enjoyed this tutorial. Any questions, unclarities, additions? Please let me know!
More lessons
Look at the full list of tutorials to learn more about using Quilt Assistant.